Skip to primary navigation
Skip to main content
Skip to primary sidebar
Skip to footer
Curbing Carbs
Home
Recipes
Main Dishes
Side Dishes
Snacks
Contact
Facebook
Instagram
Pinterest
Search
menu icon
Home
Recipe Index
Contact
Let's stay connected!
Facebook
Instagram
Pinterest
search icon
Search
Home
Recipe Index
Contact
Let's stay connected!
Facebook
Instagram
Pinterest
×
Home
»
Archives for Kay Johnson
Kay Johnson
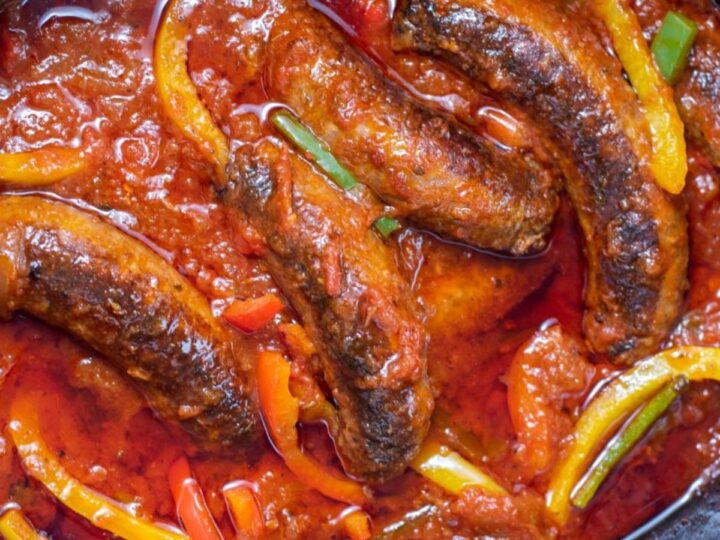
Crockpot Sausage and Peppers
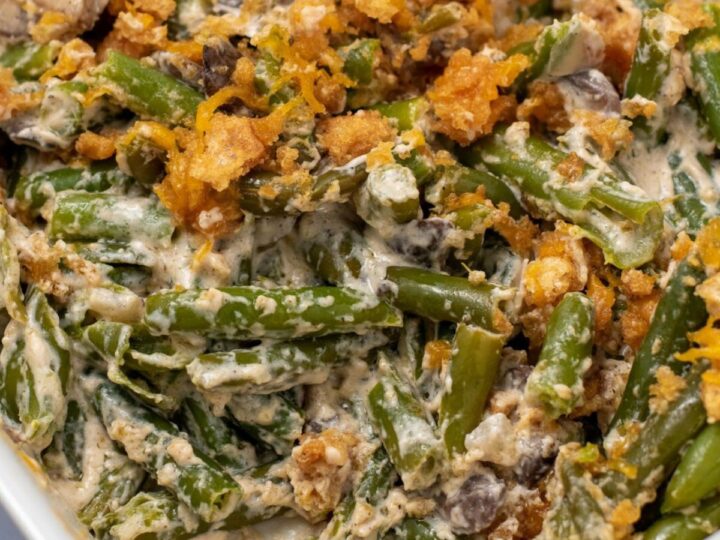
Keto Green Bean Casserole
Yogurt Curry Chicken
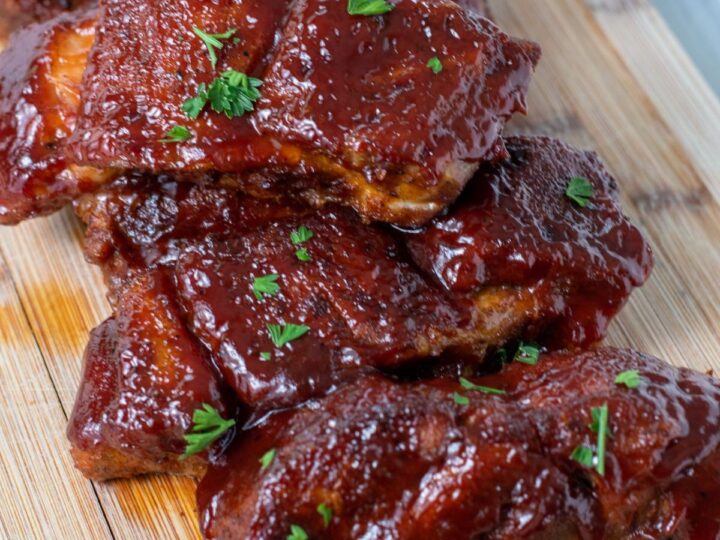
Boneless Pork Ribs In Oven
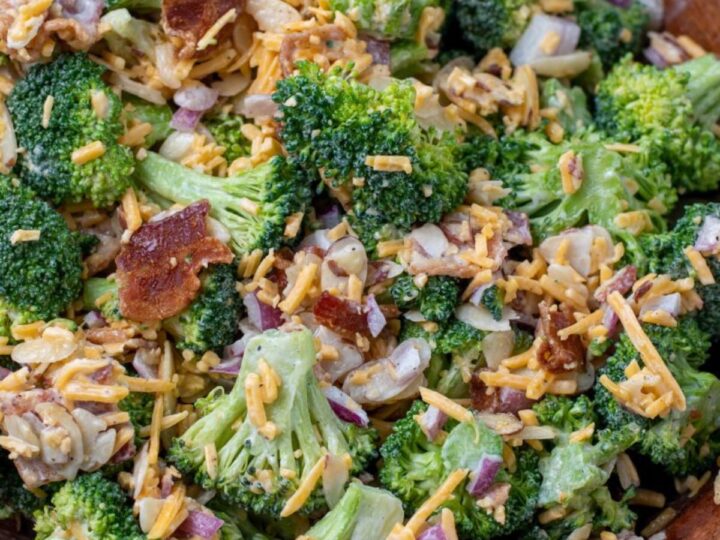
Broccoli Salad with Bacon
Crispy Baked Chicken Drumsticks
Marinated Chicken Wings
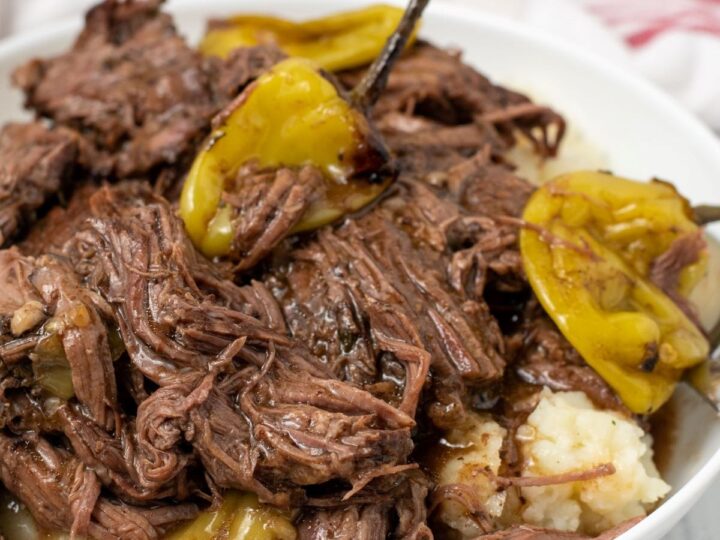
Best Mississippi Pot Roast
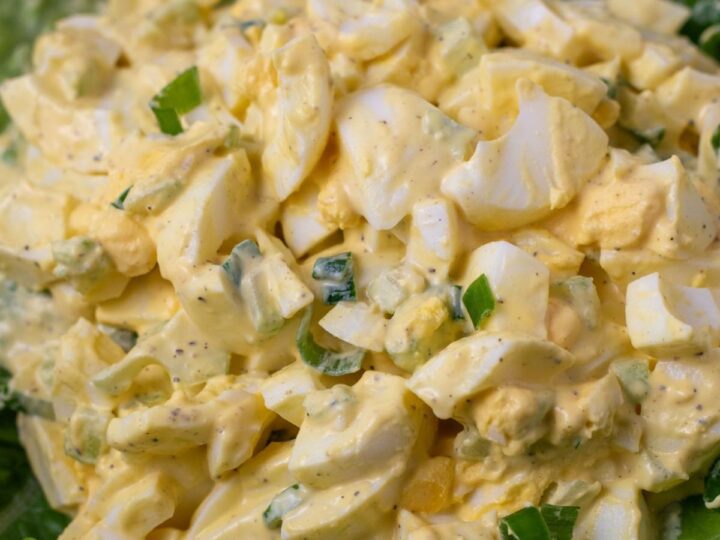
Keto Egg Salad
Easy Marry Me Chicken
«
Go to
Previous Page
Page
1
Page
2
Page
3
Page
4
Interim pages omitted
…
Page
9
Go to
Next Page »