Skip to primary navigation
Skip to main content
Skip to primary sidebar
Skip to footer
Curbing Carbs
Home
Recipes
Main Dishes
Side Dishes
Snacks
Contact
Facebook
Instagram
Pinterest
Search
menu icon
Home
Recipe Index
Contact
Let's stay connected!
Facebook
Instagram
Pinterest
search icon
Search
Home
Recipe Index
Contact
Let's stay connected!
Facebook
Instagram
Pinterest
×
Home
Kay Johnson
Keto Chocolate Mousse - Only 3 Ingredients
Crustless Ham and Cheese Quiche - Low Carb & Delicious
Cabbage and Sausage
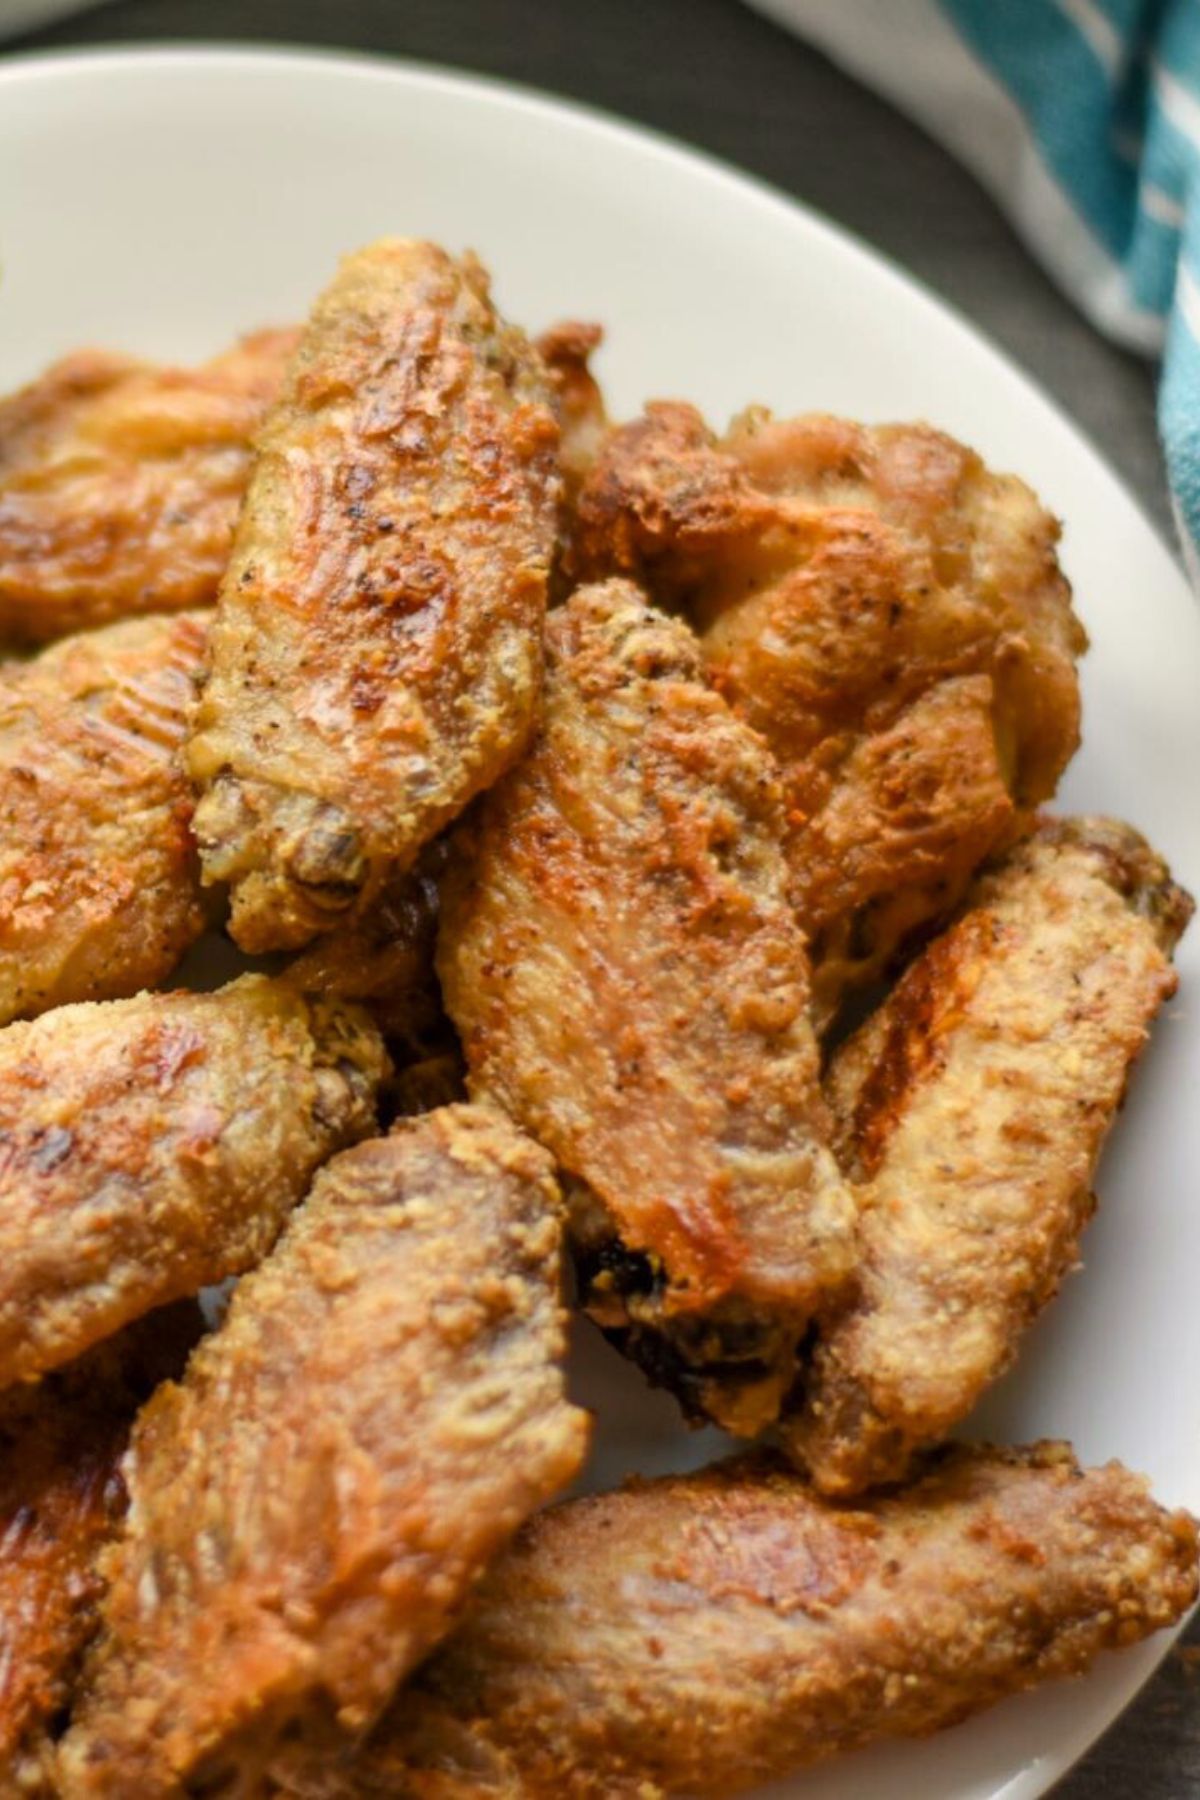
Crispy Oven Fried Chicken Wings
Juicy Baked Pork Tenderloin
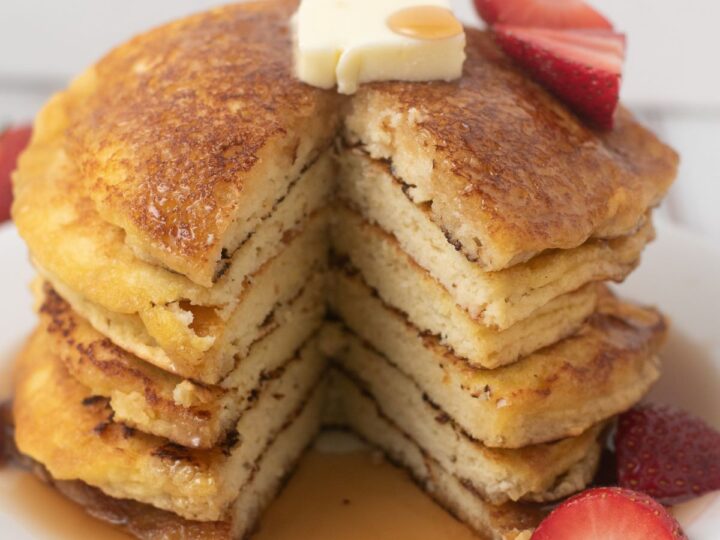
Keto Pancakes (Fluffy and Easy)
Keto Taco Soup
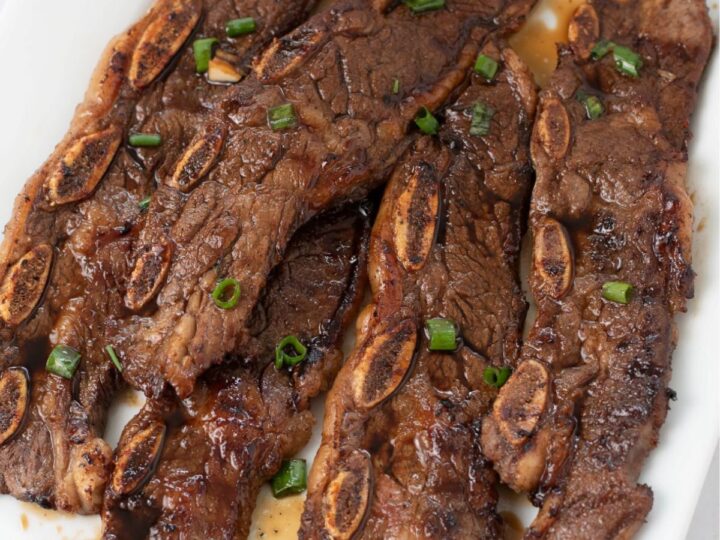
Flanken Style Short Ribs
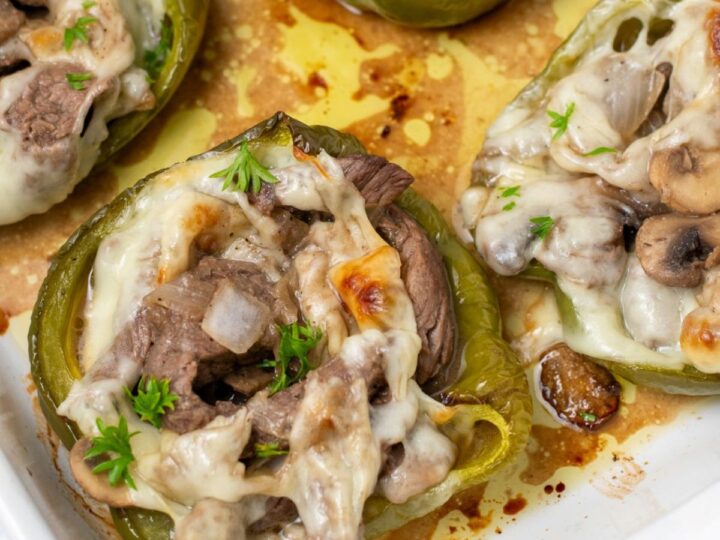
Philly Cheesesteak Stuffed Peppers
Crispy Dry Rub Chicken Wings
Page
1
Page
2
Page
3
Interim pages omitted
…
Page
9
Go to
Next Page »