Skip to primary navigation
Skip to main content
Skip to primary sidebar
Skip to footer
Curbing Carbs
Home
Recipes
Main Dishes
Side Dishes
Snacks
Contact
Facebook
Instagram
Pinterest
Search
menu icon
Home
Recipe Index
Contact
Let's stay connected!
Facebook
Instagram
Pinterest
search icon
Search
Home
Recipe Index
Contact
Let's stay connected!
Facebook
Instagram
Pinterest
×
Home
Snacks
Keto Chocolate Mousse - Only 3 Ingredients
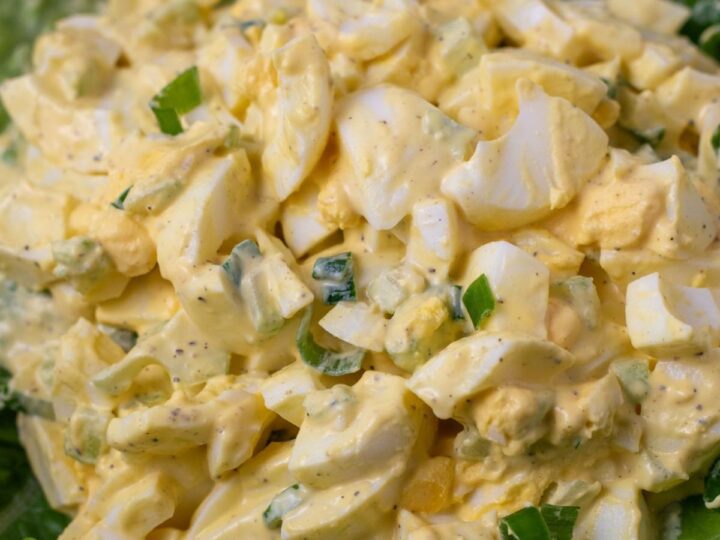
Keto Egg Salad
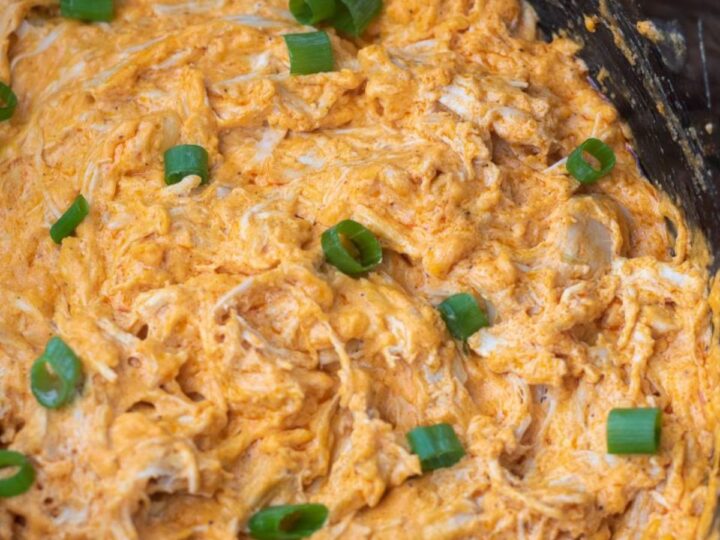
Crockpot Buffalo Chicken Dip
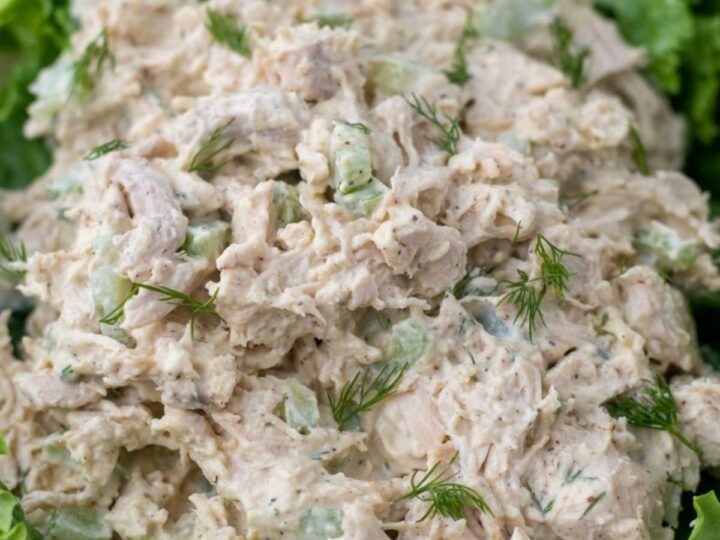
Easy Keto Chicken Salad
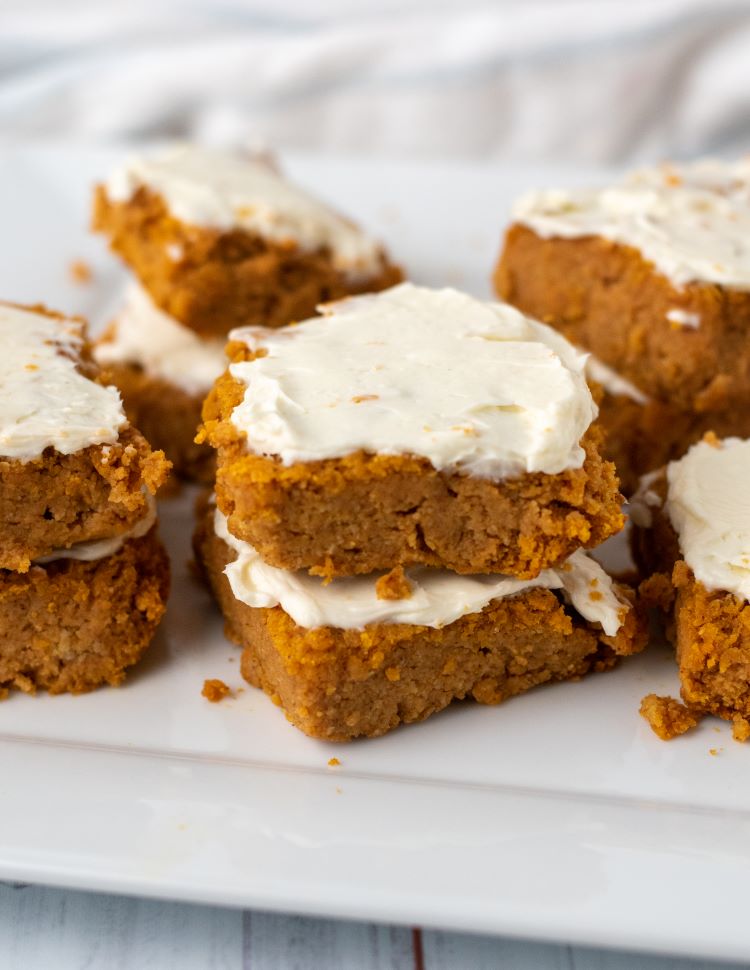
Easy Keto Pumpkin Bars
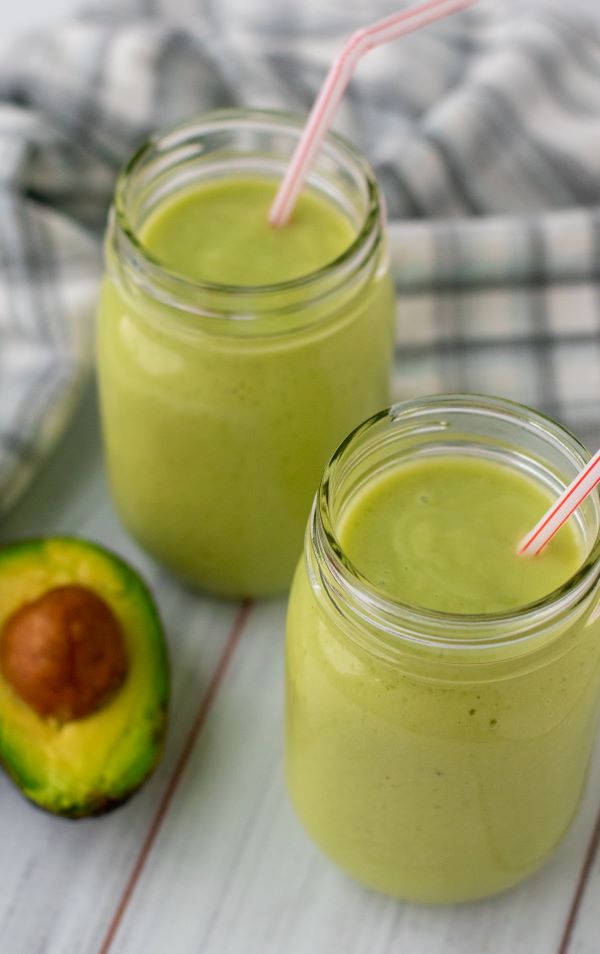
Best Keto Avocado Smoothie
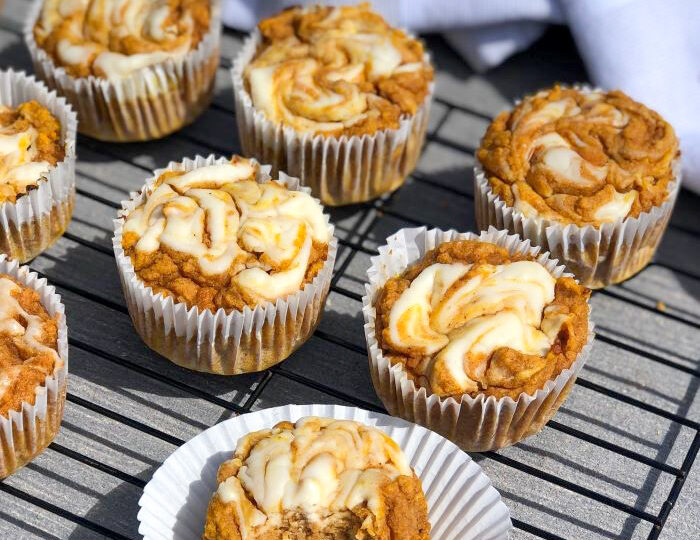
Keto Pumpkin Muffins with Cream Cheese Swirl
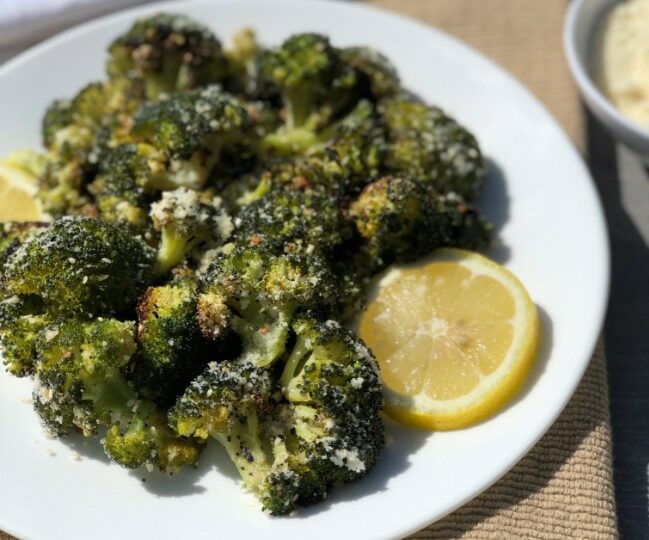
Oven Roasted Broccoli with Lemon and Parmesan
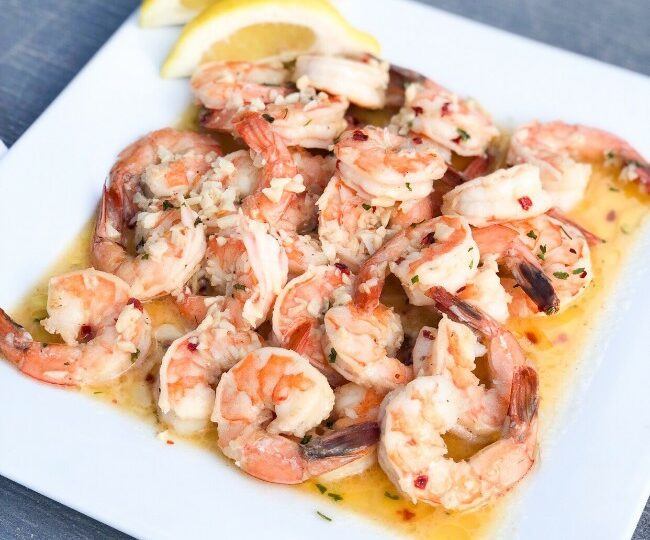
Garlic Butter Shrimp - Ready in 15 minutes
Best 4 Ingredient Keto Peanut Butter Cookies